how to take good bluebonnet photos
This weekend as I was driving back to Austin from Houston I started seeing patches of bluebonnets everywhere. Online, I see people already asking if any have been spotted yet.
So, today, I wanted to share with you a few tips on how to take the best bluebonnet photos you’ve ever taken.

tip #1 // early morning or late afternoon light is best
As with most photo shoots, the best light is early in the morning after sunrise or right before sunset when the sun is low against the horizon or hidden among the tops of trees or buildings. Middle of the day light is extremely harsh & will cast shadows under your eyes causing everyone to squint &/or refusing to look at you.
tip #2 // your subject should face away from the sun
Having your subject facing away from the sun ensures that their entire face is in shade. No patchy lighting. No squinty eyes. This is called ‘backlighting’ & will give your subject a nice halo of light around them. You may need to increase your exposure if your camera is facing into the sun.
tip #3 // find the shade
If possible, find a shady spot to sit in, again facing away from the sun. Bonus tip: Make sure your background is also in shade! If your subject is in shade but your background is in full sun, your background will turn out very white & will lose a lot of detail.
tip #4 // don’t be afraid of cloudy days
Cloudy days are great for taking photos as it diffuses the sun lighting everything equally. Overcast days allow you to shoot in the middle of the day that’s otherwise too bright. Finding the shade & facing away from the sun is not as important.
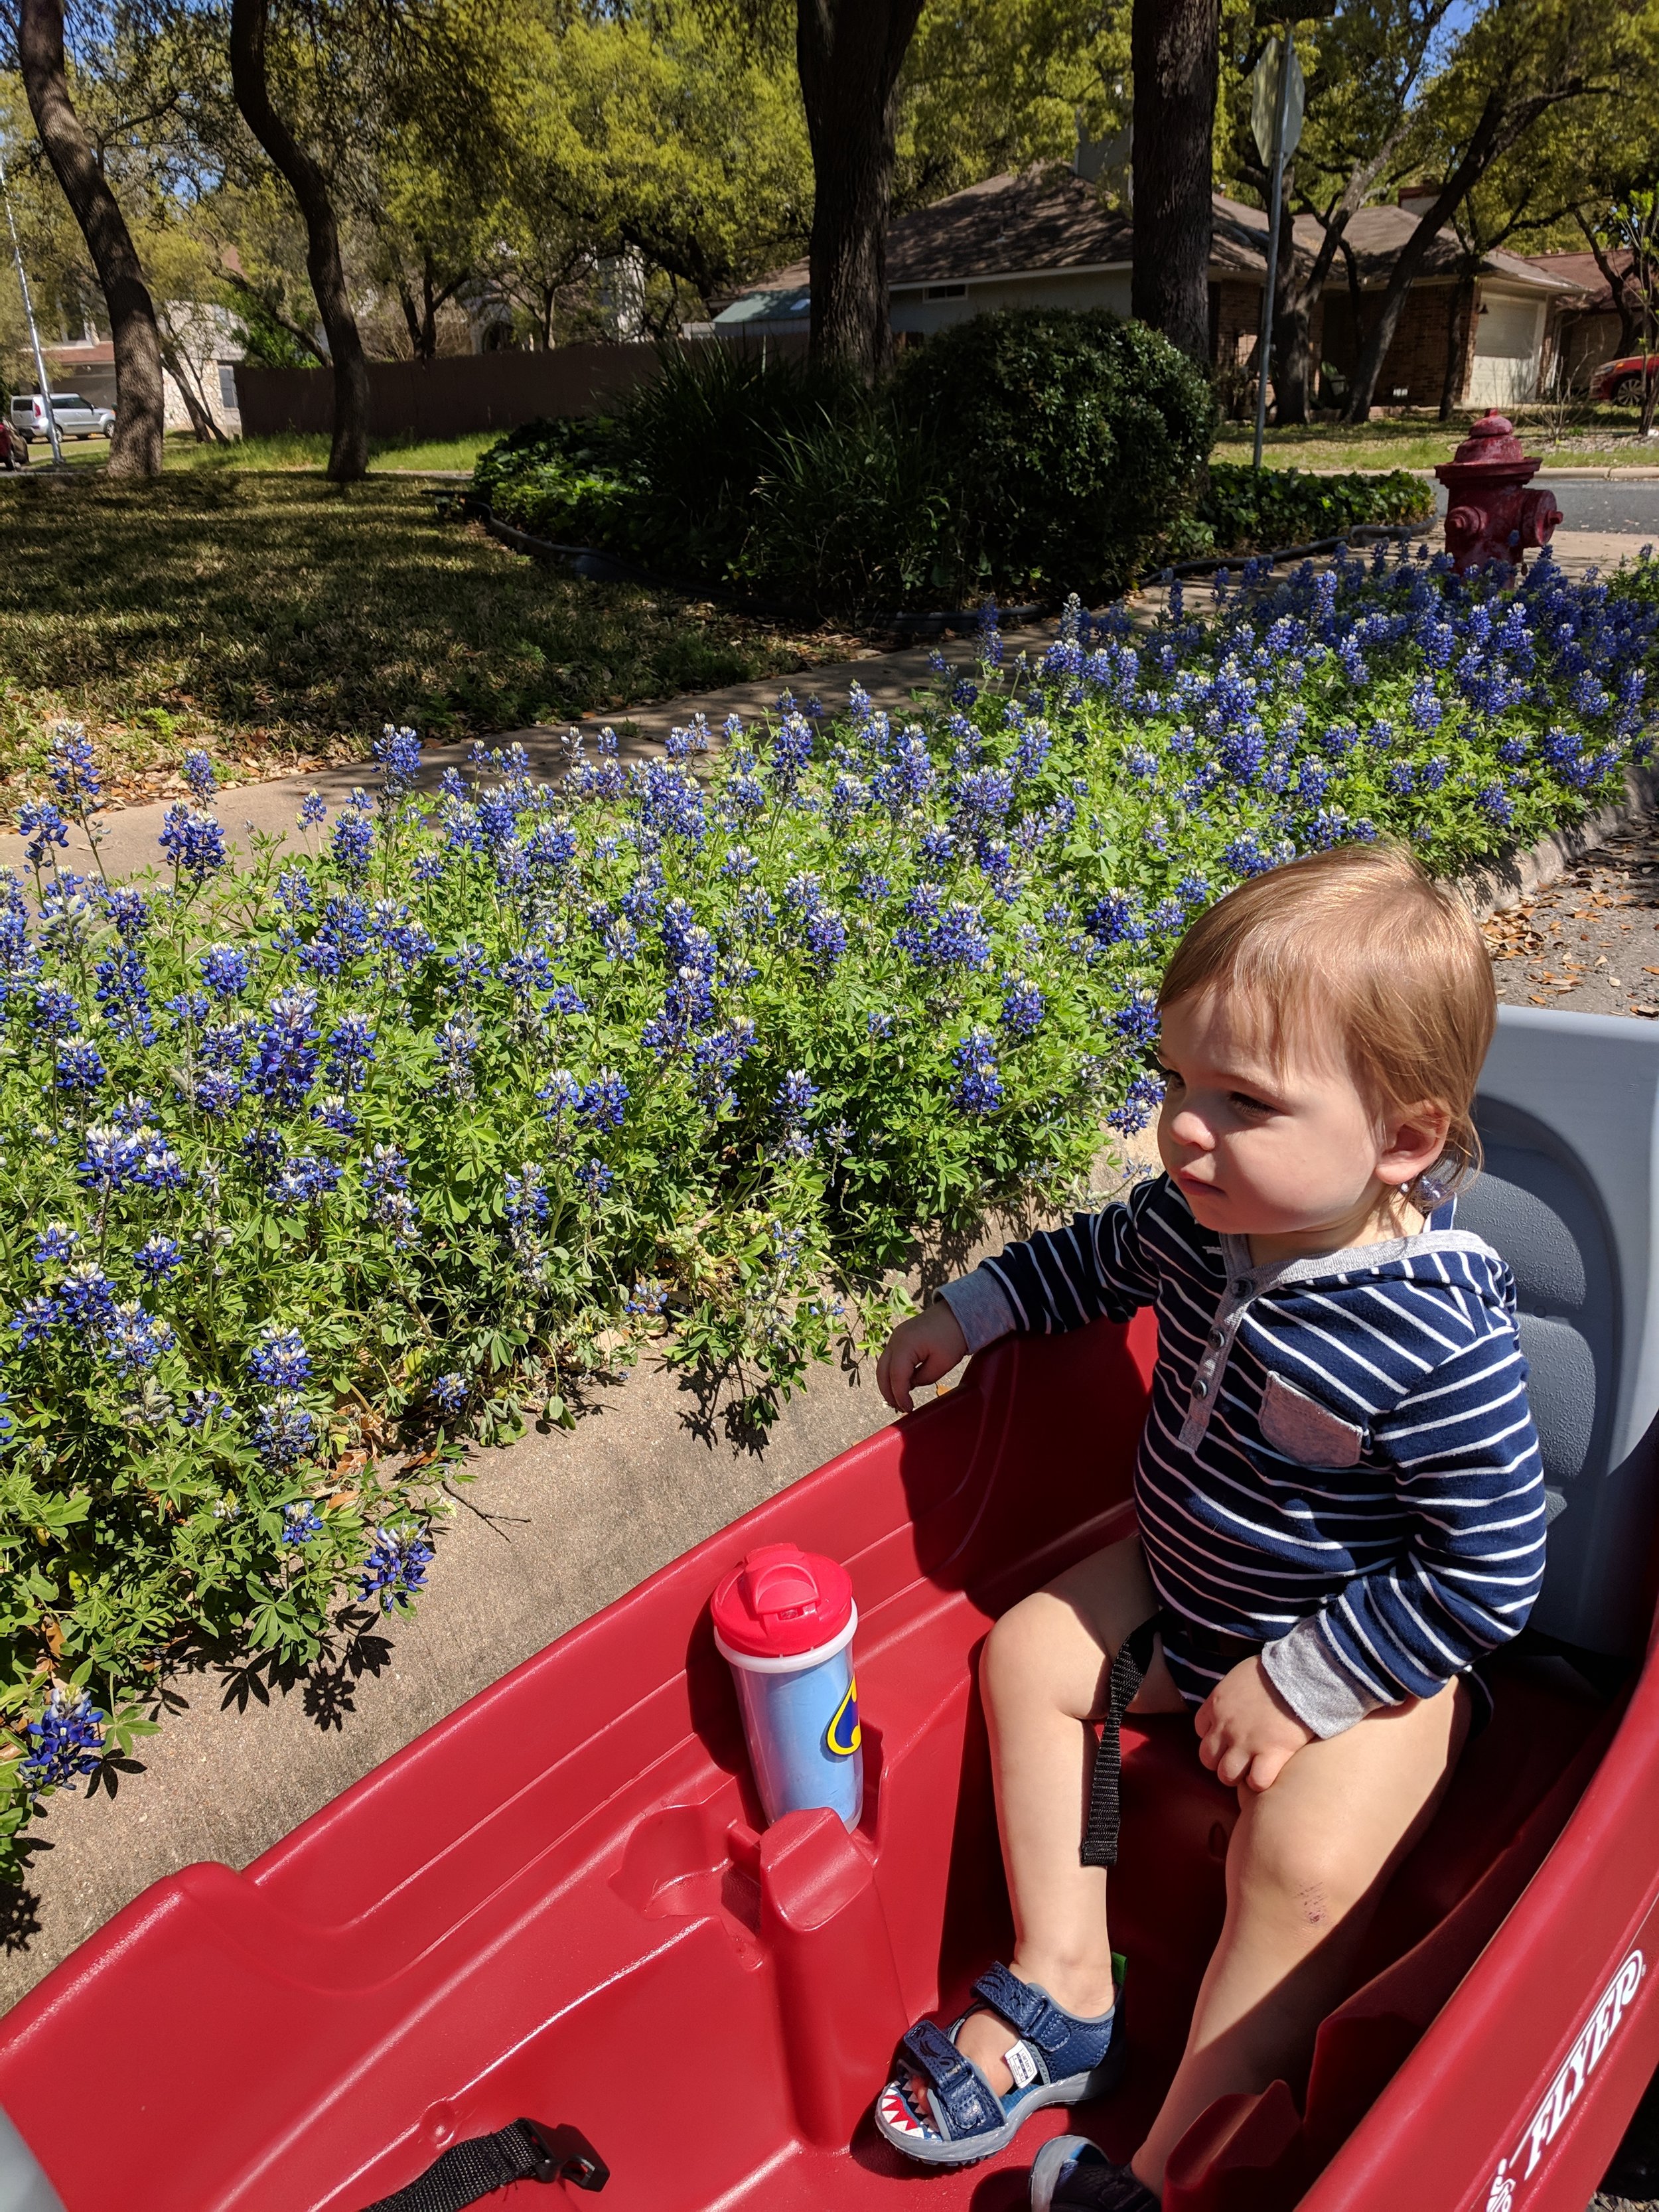

Above are two quick phone photos I snapped while on a walk in our neighborhood. The photo on the left was taken at 2pm in the afternoon with the sun high above & I had Maclin facing the sun. He wouldn’t even look at me it was so bright! The photo on the right was taken around 6 in the evening after the sun had dipped down below the top of the trees. Even though the sun was much lower in the sky, I still had him facing me. Notice how evenly lit he is & the flowers show up nicely!
bonus editing tips
Since you’re shooting backlit, bring up your exposure until your subject’s skin looks nice & bright.
Increase the contrast. This makes the whites whiter & the darks darker.
Adjust your white balance (temperature) if the photo seems too blue or too yellow. If tint is an option, that will change the green & pinks.